Gel manicures have taken the world of nail care, emerging as the go-to choice for individuals seeking both beauty and durability in their nail treatments. These innovative nail enhancements have gained even more popularity during these years as different designs, styles, and nail effects have been introduced.
It's no surprise that many enthusiasts and diy-ers have taken up the art of doing their own nails or even pursued professional courses to master the craft. However, despite the convenience and allure of gel manicures, some have encountered common issues that can leave their beautifully crafted nails chipping, lifting, or failing to stand the test of time. If you've found yourself facing these frustrations, it's crucial to recognize that there might be some mistakes you're making that are preventing your gel manicures from lasting.
Get even more in depth and knowledge through our YouTube tutorials and how-tos!
1. NOT PROPERTLY PREPPING YOUR NAILS
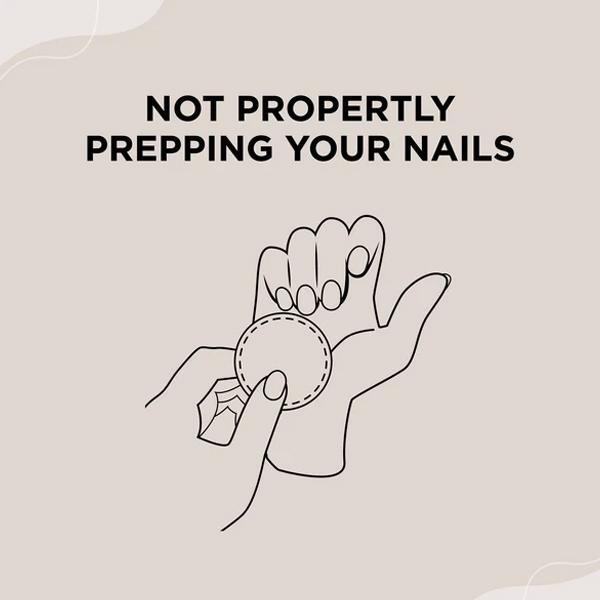
Achieving a lasting bond between your natural nails and gel polish is crucial for a beautiful and long-lasting gel manicure. Think of your nails and gel polish as a kind of "Velcro" connection – they need a slightly rough surface to securely attach to each other. To ensure this effective adhesion, it's essential to prepare your nails properly. Start by lightly buffing your nails removing the shiny layer of your natural nail. File to desired shape, making sure no nail debris is stuck under or on the nail. Proceed in cleansing your nails with 70% alcohol to remove any other dust, dirt and oils.
Missing these crucial steps will lead to potential lifting and chipping issues down the road. So, taking the time to prep your nails is a vital step in ensuring the longevity of your gel mani.
2. PUSH BACK CUTICLES & DON'T OVER PAINT
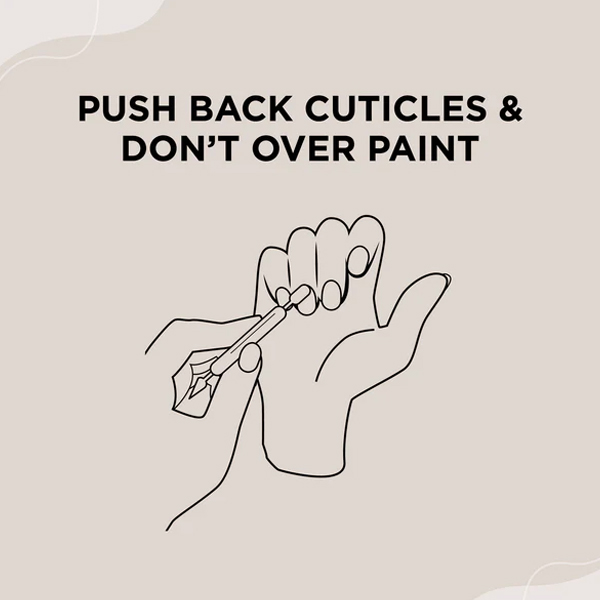
When it comes to achieving a perfect gel mani, you need a perfect clean surface.
To achieve this, it is important to use a cuticle pusher to gently push back your cuticles and gently lift any dead skin off the nails and sidewalls. You can also use an e-file or a nail file to gently buff the tough, dead skin that is usually left over and stuck on your nail. It's important to be cautious and gentle in this process to avoid damaging your nail bed!
It is also important to not get any gel polish on your skin. Make sure that every time you paint, clean the sidewalls using a small clean up brush and wipe away any polish that is touching your skin before curing. This will prevent future lifting of the polish.
3. WAY TOO THICK!
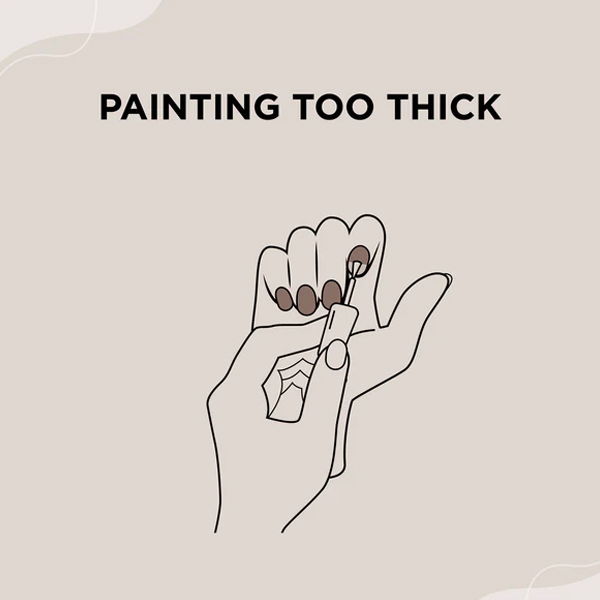
Have you heard of the saying "less is more" this holds true in the world of gel manicures. While it might be tempting to apply thick layers of gel polish, it's important to remember that in this case, less truly is more.
Thick layers can present a host of problems, the most significant being incomplete drying. Even if the top layer appears dry, the layers beneath may not have cured properly, which can result in peeling and even the entire manicure popping right off. To avoid these issues, it's essential to apply each layer of gel polish evenly and thinly. Thin layers not only dry more thoroughly and consistently, but they also allow for better adhesion.
4. CURING TIME AND LAMP
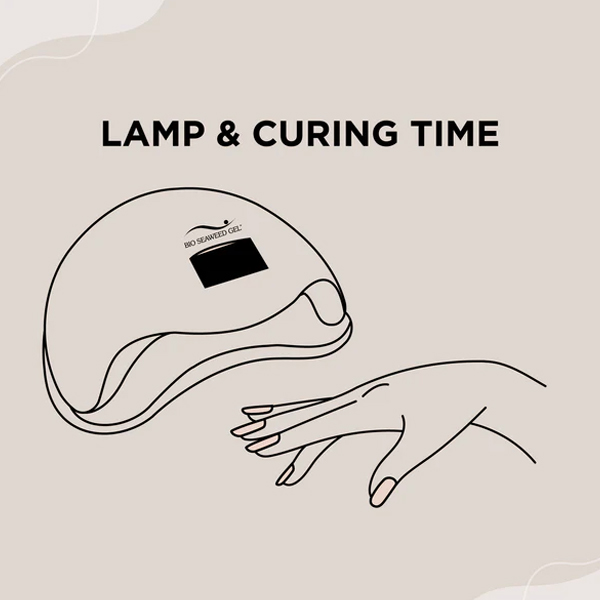
If you're using an older lamp with damaged bulbs or a lamp that’s not strong enough, it's vital to make the necessary adjustments. A compromised lamp may not provide the consistent light needed for thorough colour penetration, which can result in issues such as uneven curing.
It's important to remember that when it comes to curing, overdoing it is generally safer than underdoing it. Over-curing your nails can lead to a harder, more durable finish, whereas under-curing can result in a manicure that doesn't last. So, ensuring that you invest in a quality lamp with functioning bulbs and following the recommended curing times is essential for achieving a gel mani that's not only visually stunning but is also built to last.
5. PICKING & USING AS TOOLS
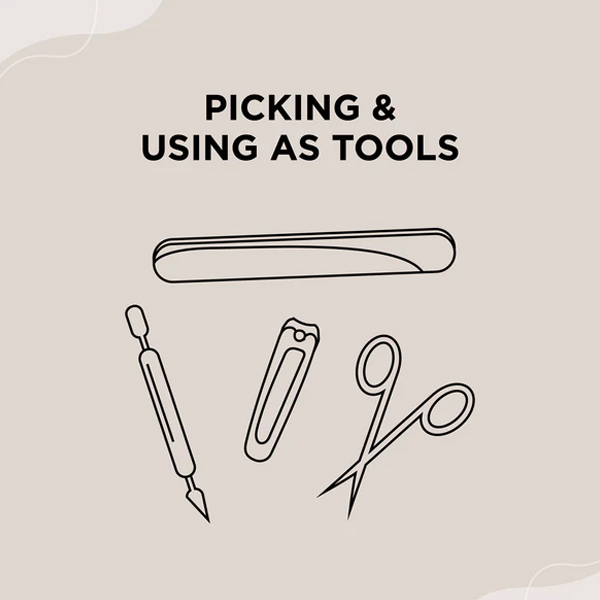
Using your gel mani as a tool to open things is a common but damaging habit that can have long-term consequences for the health and durability of your nails which leads up to breakage and chipping of the polish.
When you peel off your gel polish, you're not only stripping away the polish but also layers of your natural nail. This results in weakened, brittle nails that are often left uneven and vulnerable. If you attempt to apply a new gel nail polish on top of nails in this compromised state, you're setting the stage for a less than ideal experience. The polish may adhere poorly to the damaged surface and lead to a manicure that is weak, bend, and prone to chipping. To maintain the health and longevity of your nails, it's essential to break the habit of using them as tools and to treat your nails with care, both during and in-between manicures.
6. CUTTING & FILING YOUR NAILS
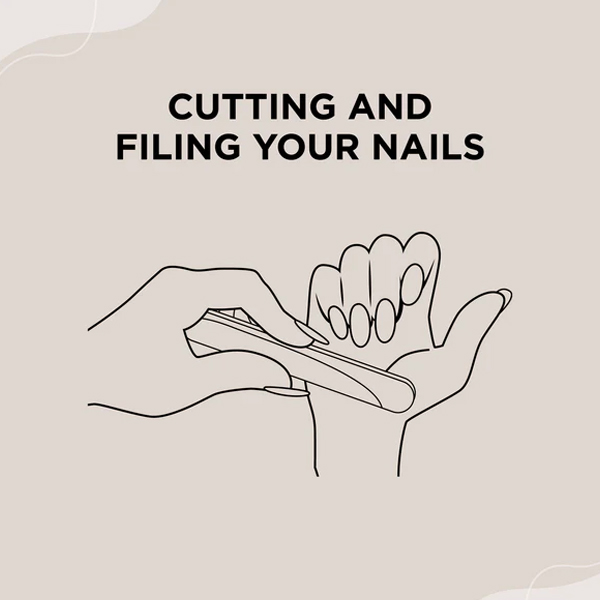
It's normal to feel the need to adjust the length of your nails when you have had your mani for a few weeks. While it may seem like a simple solution to trim or file them down but doing so will break the seal of the gel polish or top coat. Once that seal is broken it may open the door for water and dirt to seep under the polish leading to issues of lifting and peeling.
There can be billions of reasons that can contribute to chipping, peeling and short-lived manicures. However, by following these steps we promise that you'll significantly see the longevity of your mani. With these essential practices in your nail care routine, you can enjoy beautifully adorned nails that stay flawless for longer periods.
credit to Bioseaweed for this blog content